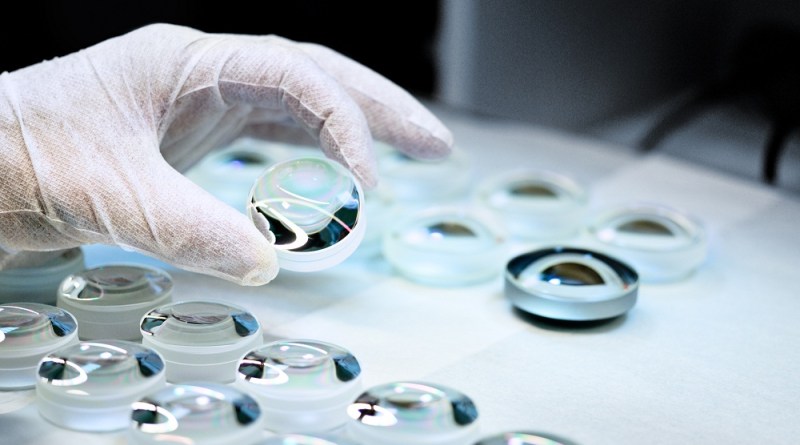
Optical specifications are used throughout a component’s design and manufacturing to characterize how well it meets some performance requirements. They specify the acceptable limits of major parameters that govern the performance of a system and specify the amount of resources to be spent on manufacturing.
Optical systems can encounter under-specification or over-specification that can lead to unnecessary use of resources. Under-specification takes place when there is a failure to properly define the necessary parameters, leading to inadequate performance. Over-specification takes place as a result of defining a system too tightly without keeping mind changes in optimal or mechanical requirements. This leads to higher costs and increased challenges in manufacturing. Keep reading to learn more about optical manufacturing specifications and what they mean:
Center Thickness Tolerance
An optical component’s center thickness refers to the material thickness of the component measured at the center. Such thickness is measured across the lens’ mechanical axis. A lens’ center thickness varies which impacts the optical performance as center thickness, together with the radius of curvature, determines the optical path length of rays that pass through the lens.
Diameter Tolerance
A circular optical component’s diameter tolerance offers an acceptable range of values for the diameter. Diameter tolerance does not have any impact on the optic’s optical performance; it is a significant mechanical tolerance to be considered when the optic will be mounted in any kind of holder.
Bevel
The corners of glass can be quite fragile so they must be protected when handling or mounting a component. Beveling the edges is one way to protect these corners. Bevels work like protective chamfers and prevent edge chips. Optics that have less than 3.00mm diameters like micro lens arrays or micro-prisms is often not beveled because of the possibility of making edge chips in the process.

Radius of Curvature
This refers to the distance between an optical component’s vertex and the center of curvature. Knowing the radius of curvature makes it possible to identify the length of rays that pass through the lens or mirror. Also, it plays a significant role in determining the surface’s power. Typically, a radius of curvature’s manufacturing tolerance is +/-0.5. However, it can be as low as +/-0.1% in precision applications or +/-0.01% for extremely high-quality needs.
Angle Tolerance
The angles between surfaces in components like beam splitters and prisms are vital to the optic’s performance. Typically, this angle tolerance is measured using an autocollimator assembly of which light source system emits collimated light.


